PAUL'S
RC PAGE
PAUL'S
RC PAGE
Had a very busy year work wise, and not had time for the website.
The web site company say that if nothing is added after 2 months they delete it,and that is what I was expecting,needles to say they haven't, so I have decided to keep going.
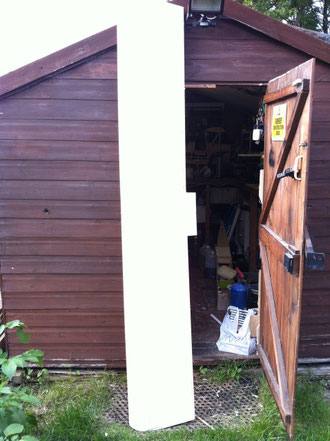
Ok so had a week off work earlier this year and spent the whole week making doors for the Moth,although they look good after a full week not much to show for it, and decided I needed to do some balsa bashing.
I have a 45cc petrol under the bench and wanted something for it, so decided to build a Greenley the old LMA traner.
A mate of mine cut some wings for me a few years ago and I had the plans already printed out so of I went.
The Greenley
This is someone else’s Greenley but is the same as I am building .
The Greenley is a high wing 88inch large model trainer.
Slab sided easy to build plane, as with all my planes I like to try something different new techniques, or new to me anyway.
So this one I decided glass cloth and resin covering, smoke Unit, and all airbrushed artwork and because it is a large model duel receiver power for redundancy running through two switches and also a Power off engine cut off this was built for me by my mate Steve who is a wiz with PCB boards electronics est.,
Without him it would have cost me a fortune, he helps me with all my electronics gear and I don’t know what I would do without him (don’t tell him that :-) )
The Fuselage on the building board.
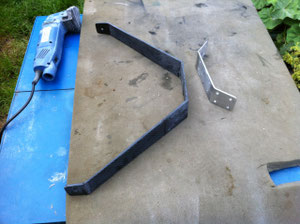
Had a go at my own carbon fibre undercarriage .
carbon fibre undercarriage in mould.
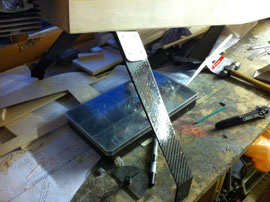
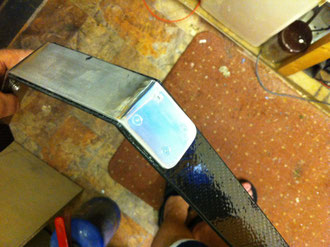
Finished.
It’s a big wing at 88 inch and 14 inch cord 4x digital servos and flaps.
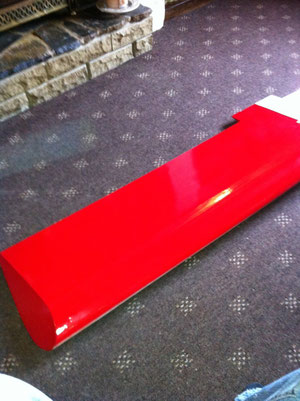
The first quarter of the wing covered with film, red underside white on top, the whole wing took about 5 evenings to cover including ailerons and flaps.
Now for a little History lesson.
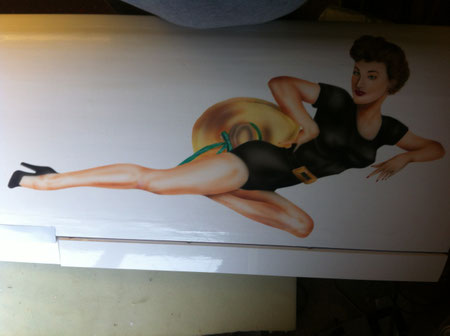
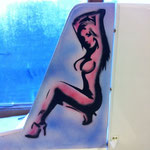
Alberto Vargas 1896-1982 was a Peruvian artist (so what ! I hear you say)
Well during the 30s and 40s he made his living out of painting pinup girls to adorn calendars and books. (So!) These were loved by the American troops based all over the world, and his artwork was copied onto the noses of their aircraft and names given to them thus we have Nose Art.
Do a quick search on the tinterweb for Alberto Vargas art work and you may see some you recognise including the likes of Memphis bell ,Shoo Shoo Baby and even the Virgin Atlantic aircraft nose art.

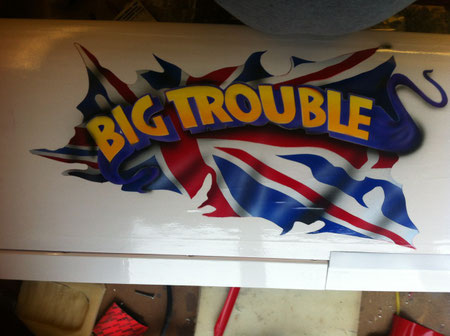
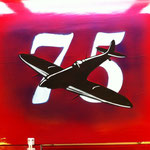
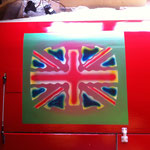
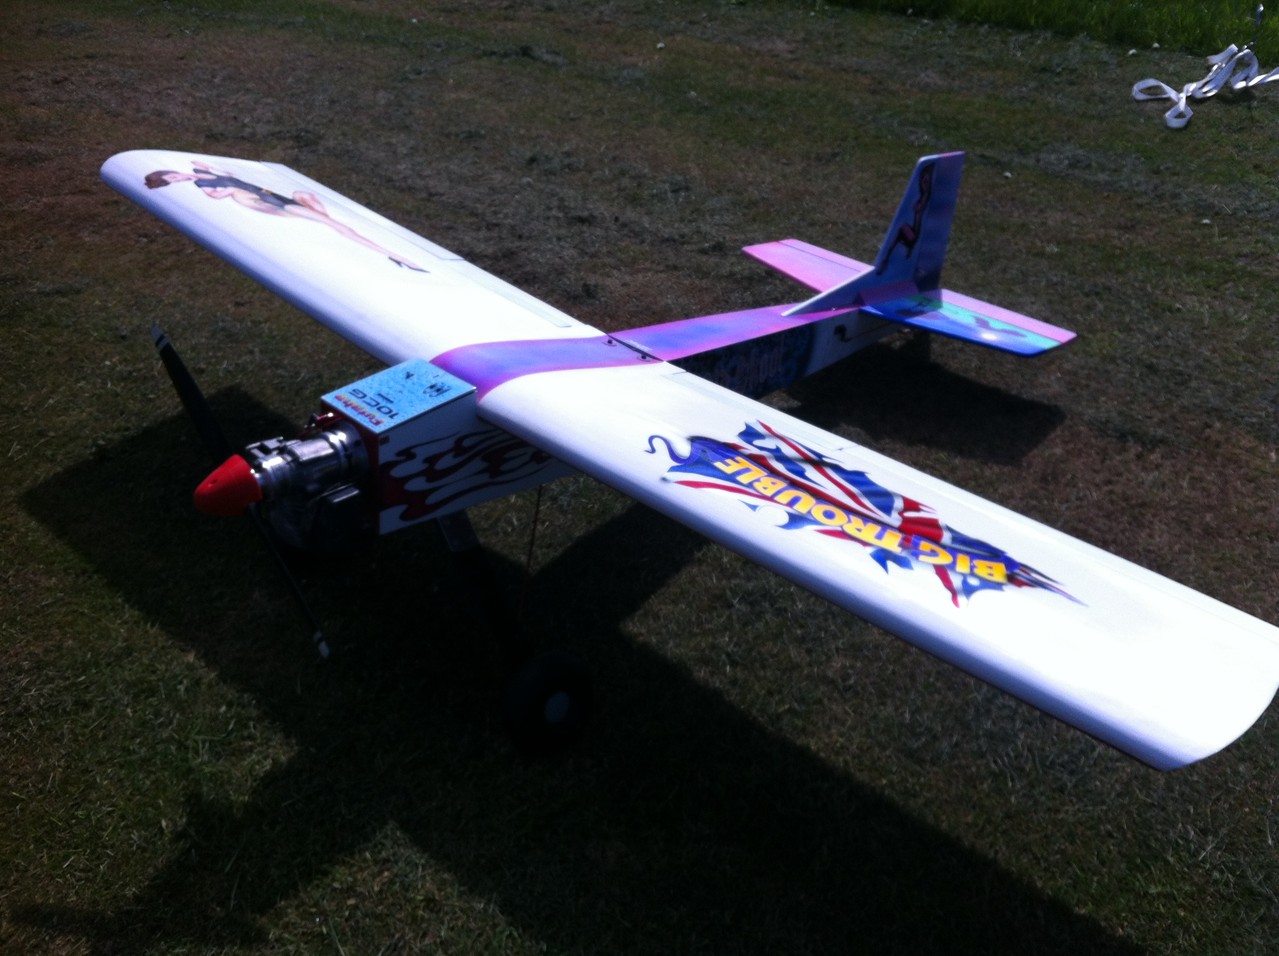
The reason for telling you all this is because I have decided to call my Greenley Big Trouble.
And one thing guaranteed to get you into big trouble is a Woman. So while thinking about the finishing and painting scheme this is what came up with.

Well it’s been a few months since I updated this,
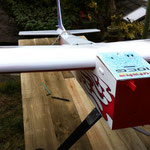
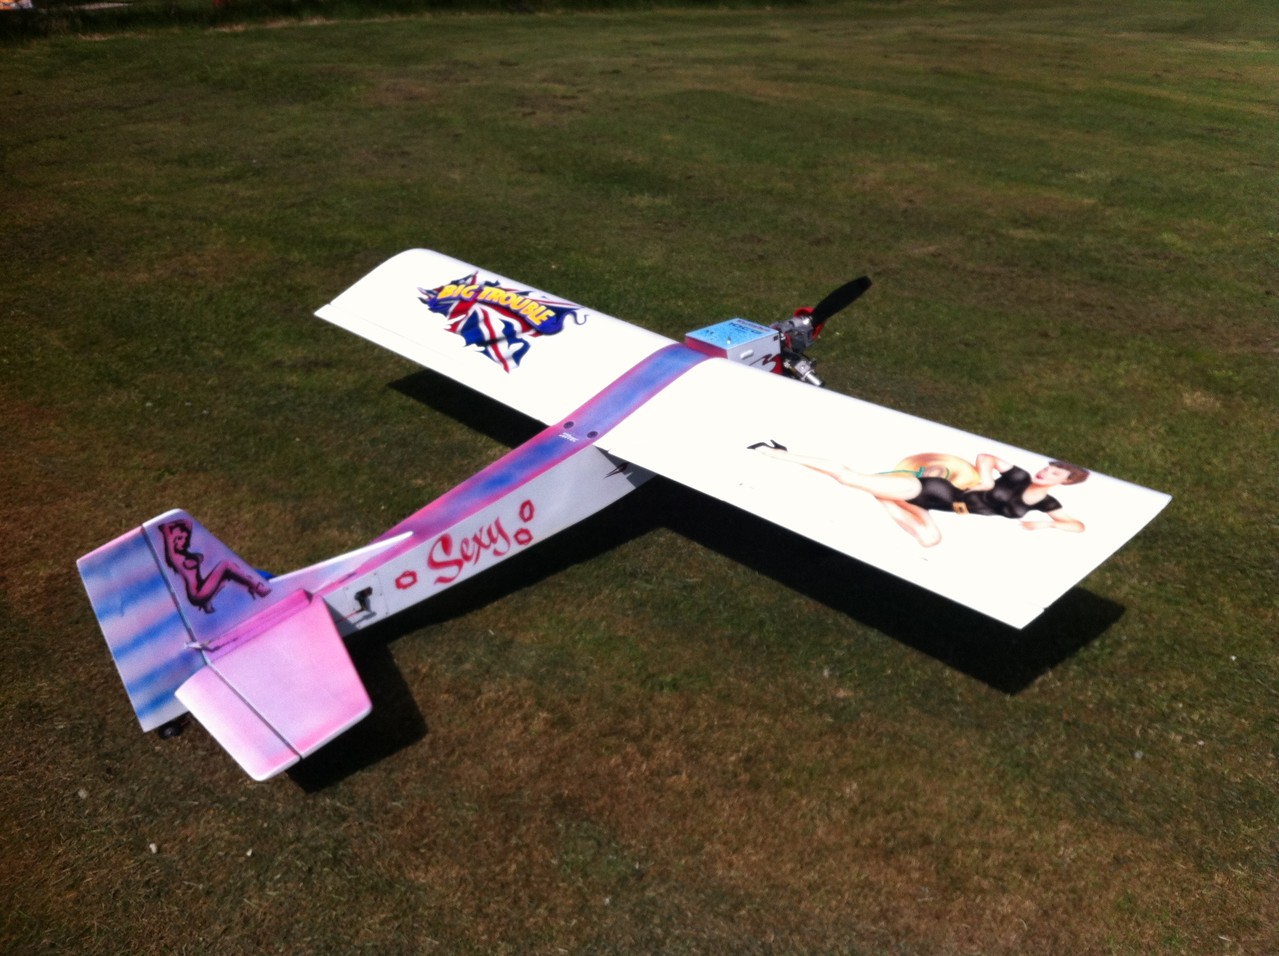
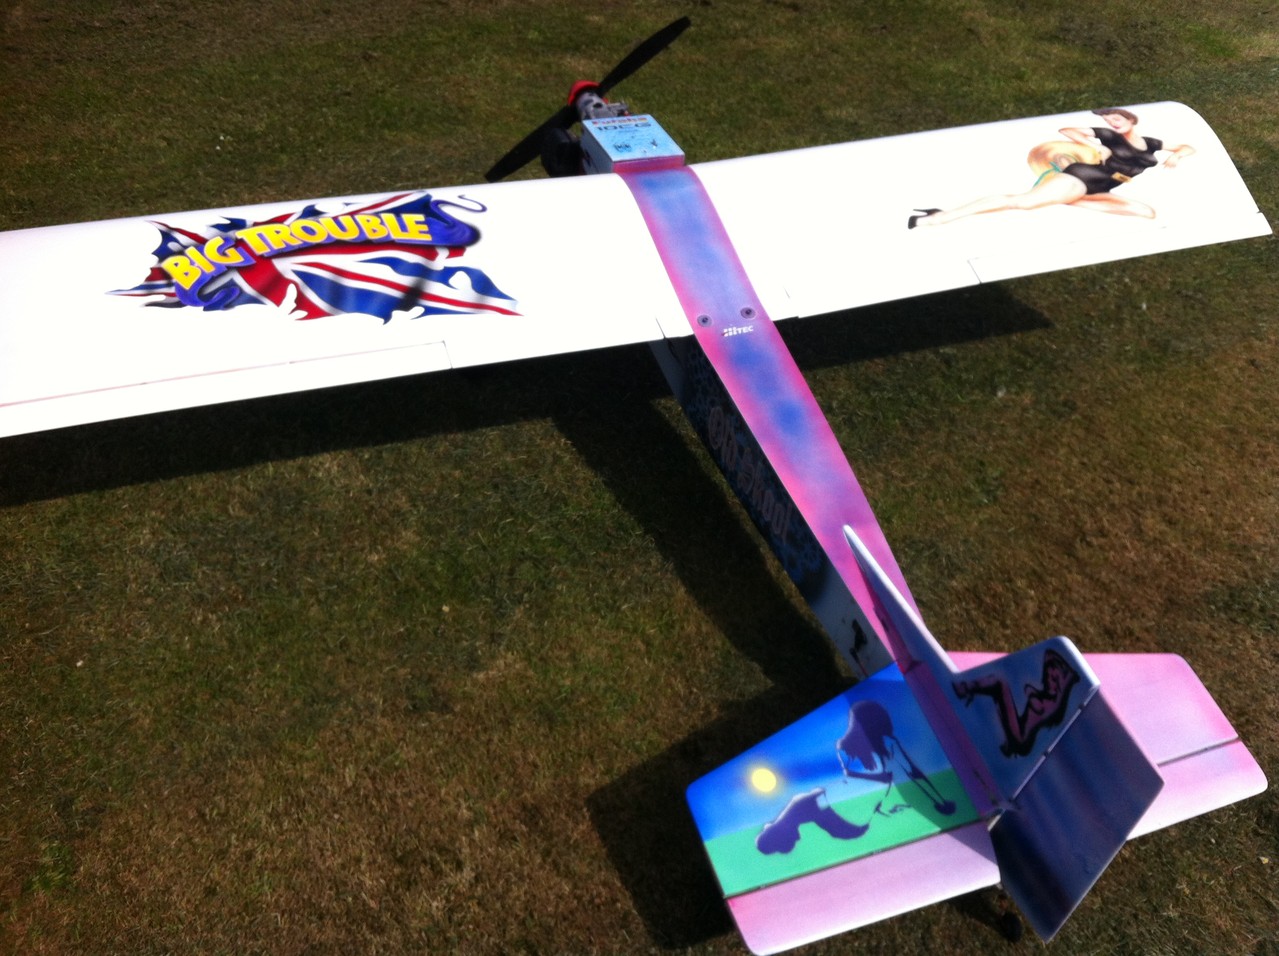
All the painting and finishing is done and I have installed a smoke system.
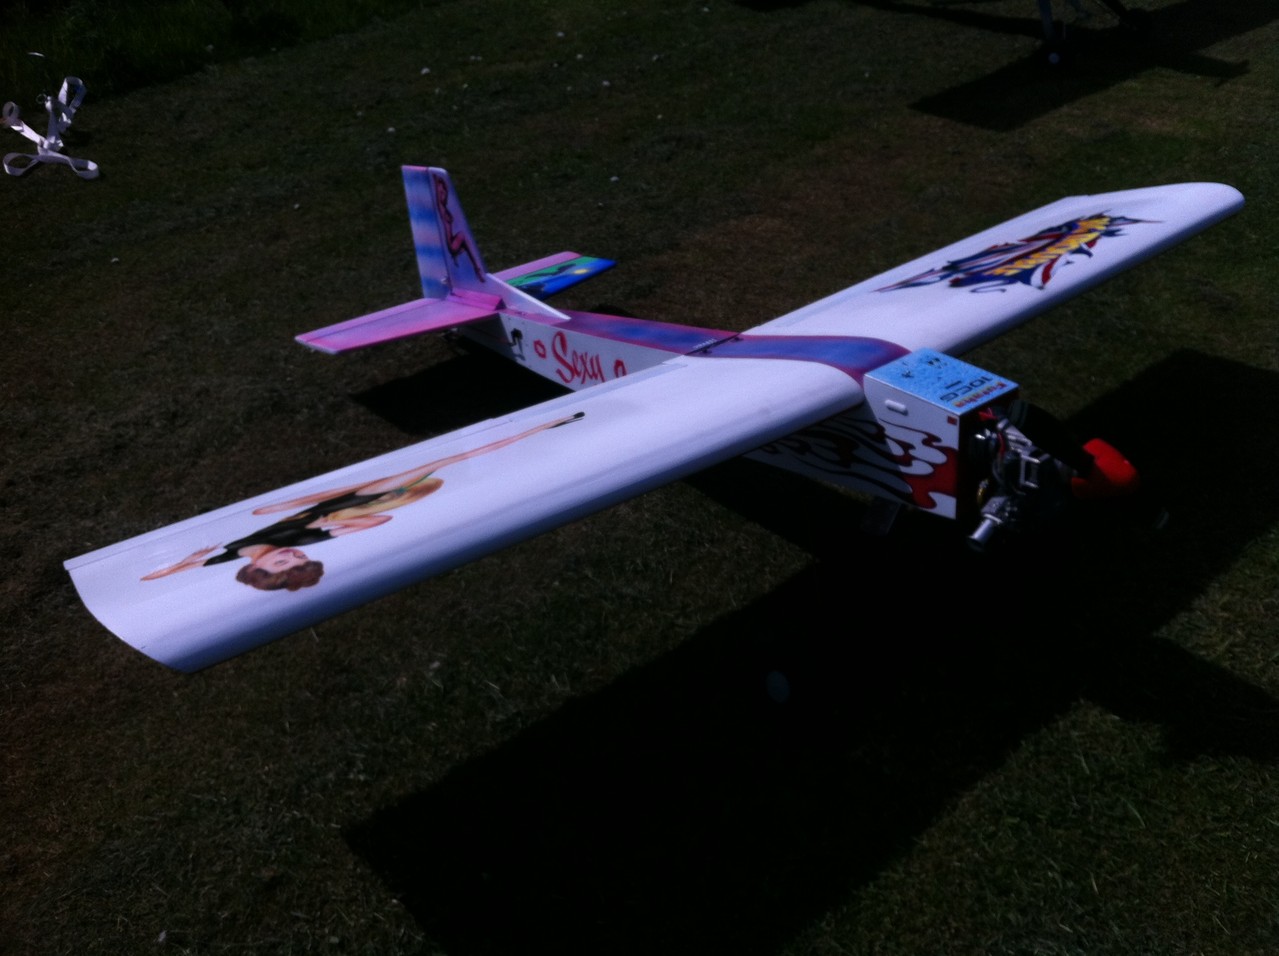
I have had a few problems with the undercarriage and wheels ,so I have just replaced them with a wire undercarriage and new DU-BRO 6 inch inflatable tyres (the original ones had perished.
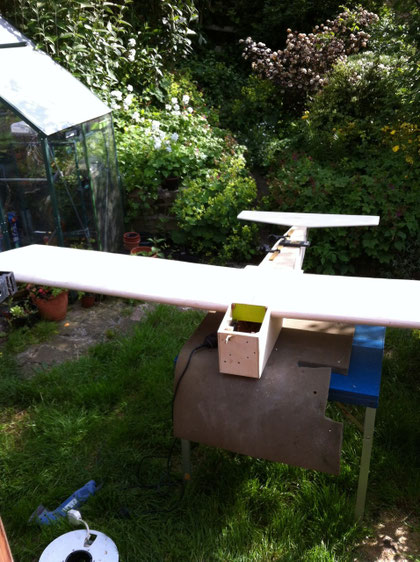
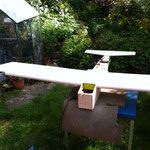
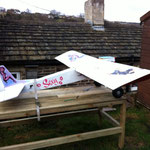
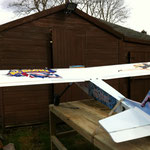
Below are a few photos of the progression and the finished article.
It fly’s superb, only 2 clicks of aileron of the board.
The smoke system works well two with my home brew smoke.

Up at the strip,Ready to go!!!!!!!!!!!!!!!!


First Flight WOW !!!!!
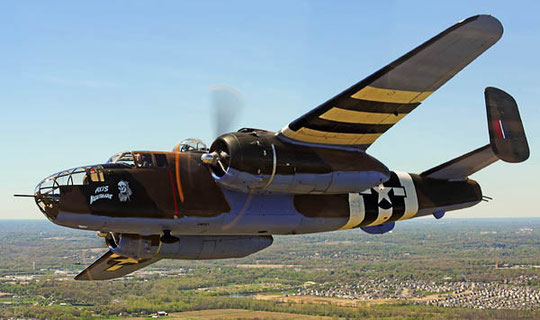
B-25 Mitchell bomber
Now that the Greenley is finished,time to crack on with the Moth,
hang on there’s a started B-25 under the bench, I must have had it 10 + years.
I bought it of a friend at Binbrook on a flying weekend,he was making glass fibre panels for the manufacturer to sell as a kit,but he was left with it and sold it to me.
I have always loved the Mitchell, and have 2 engines to go in it.
So of I go!.
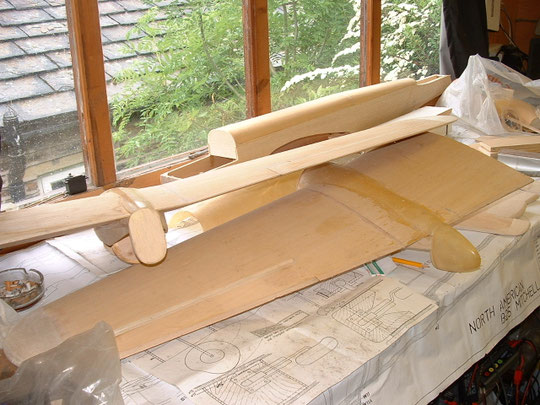
Wing panels joined together and tape applied, this is the top of the "gull wing".
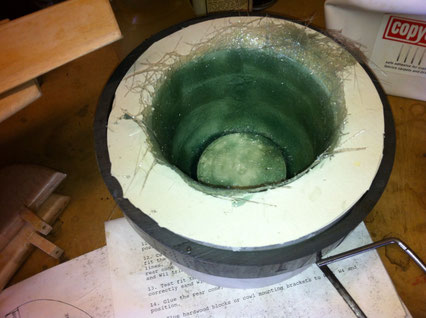
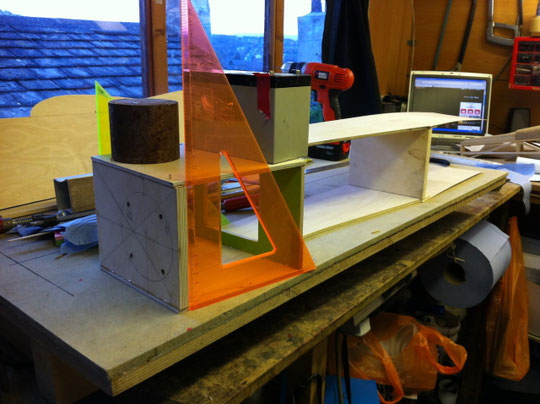
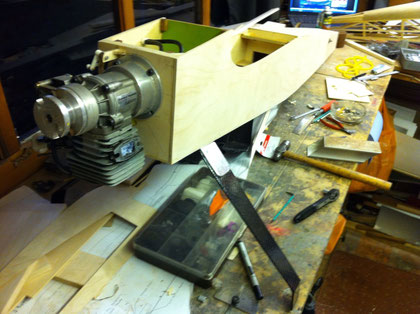
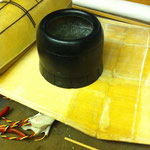
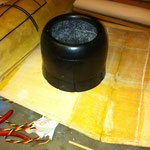
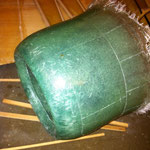
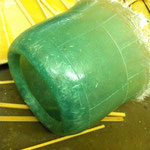
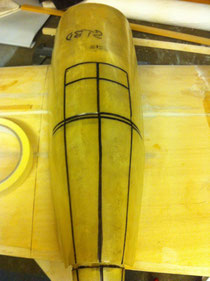
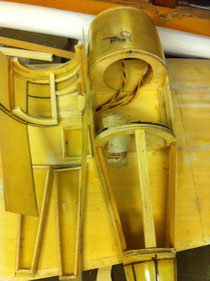
Moulding the cowls out of glass fibre, the plug was made on the lathe,and a silicone mould made.
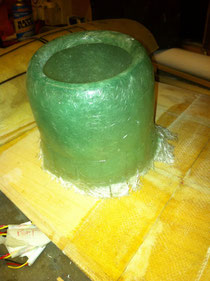
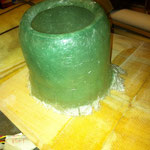
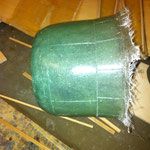
The cowl out of the mould and half trimmed. Quite a few surface blemishes :( I will use gell coat on the next one.
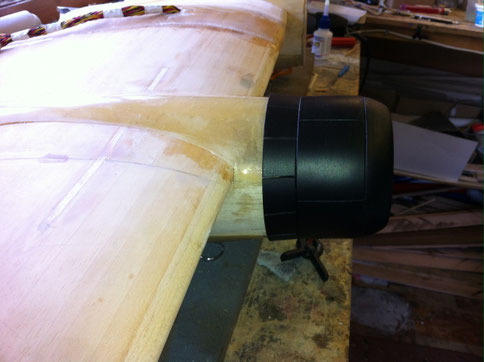
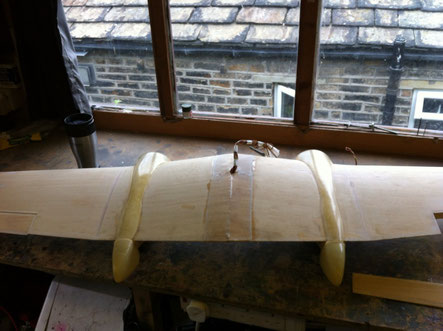
Finished cowl in place.
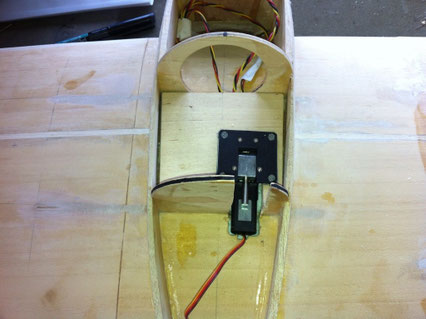
Retract units in place, got to fit the glass fibre under pans and cut out the doors.
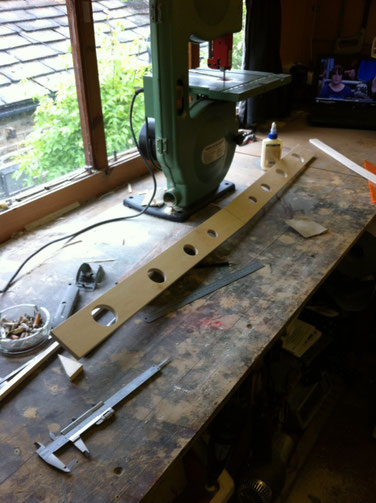
The glass fibre underpan marked up for cutting.
Port side cut up and gear doors trimmed with hard wood for rigidity.
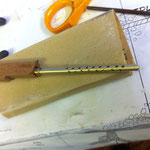
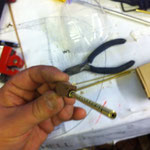
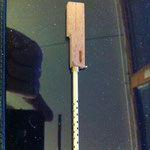
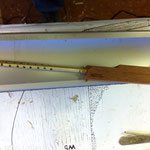
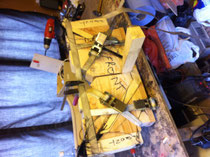
Had a go at an 11.4 scale .50 cal machine gun, I need to make quite a few ( good practice for my 10 foot B 17, but that's another story.) haven't finished the gun yet but made a good start.